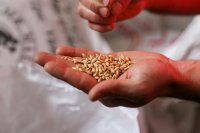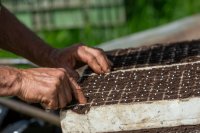
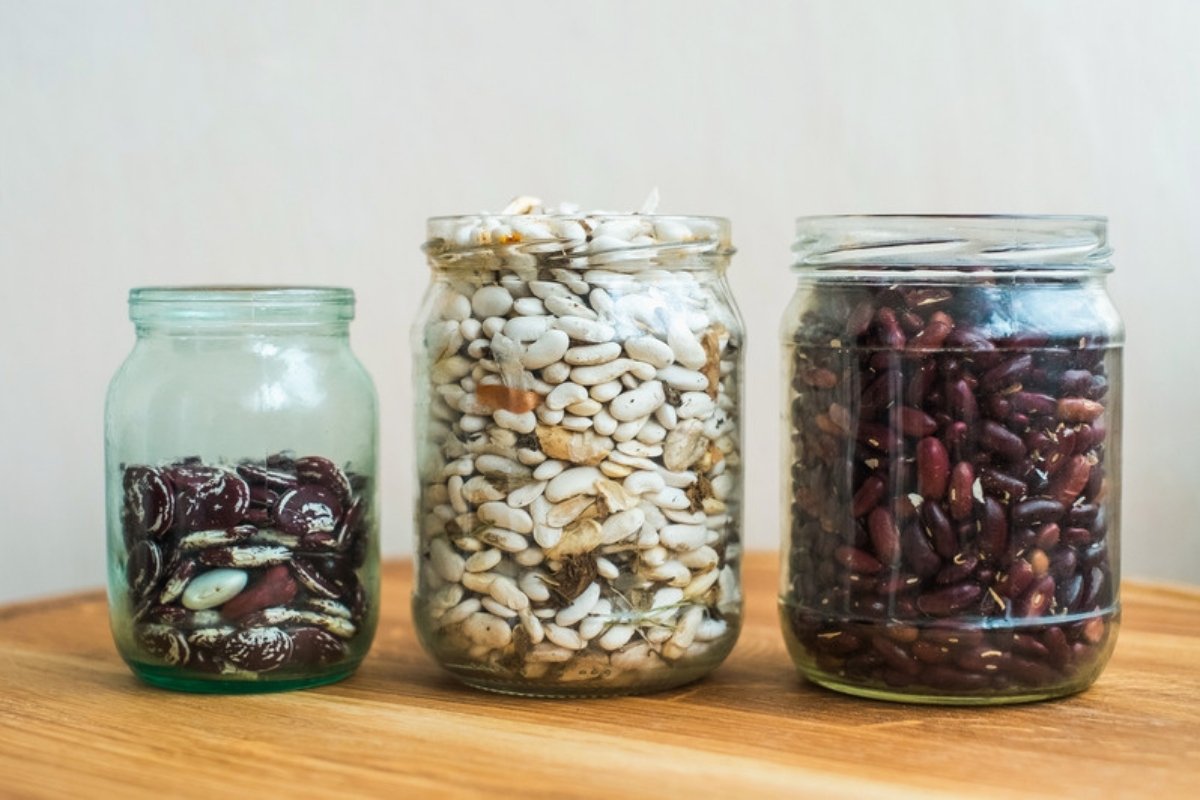
Every good crop starts with good seed. Saving your own can cut costs and help you keep varieties that suit your farm, but its quality depends on careful selection, harvesting, drying and storage. The steps below apply to common grains, pulses and vegetables whose seed tolerates drying, and each crop still needs its own guidance, especially on moisture targets and pollination control.
When saving your own seed makes sense
Farm-saved seed is worth it when a suitable variety is available and the seed is managed carefully. Count the full cost, though, including cleaning, testing and storage, and the risk of a poor stand if the seed underperforms. Farm-saved seed does not automatically meet certified-seed standards, which is why certified seed goes through a controlled generation sequence and laboratory testing. Where disease, contamination or low germination is a concern, buying quality seed from a reputable supplier may be the better choice.
Choose varieties that will come true
Open-pollinated varieties are the ones to save. Seed collected from F1 hybrids may germinate, but the next crop will vary in growth, maturity and yield, and it will not reliably reproduce the original hybrid.
Choose the right plants
Seed saving starts in the field, not in the store. Mark healthy plants that match the variety's expected characteristics and perform well in your conditions, and avoid diseased plants and obvious off-types. Remember that poor growth can come from soil, water or nutrient problems, so it is not necessarily an inherited weakness. For bulk seed, pick a clean, uniform part of the field and keep its harvest separate.
For cross-pollinated crops such as maize and many vegetables, compatible varieties growing nearby can change the next generation, and a small gap between them does not guarantee purity. Follow crop-specific isolation guidance or use pollination controls, and collect seed from enough plants to keep the variety's genetic base.
Harvest at the right time
Timing matters more than most farmers realise. Harvest too early and the seed has not finished maturing, so it will store and germinate poorly. Wait too long and pods may shatter and drop seed in the field, or rain, insects or birds may damage it.
Harvest when the seed has reached the right maturity for the crop. Wheat and rice grain should be well developed, and local harvesting guidance is a better guide than plant colour alone. Pick dry-seeded pulses as the pods mature, before shattering causes losses. Tomatoes should be fully ripe and peppers should reach their mature colour. Vegetables normally picked immature for eating, such as cucumbers, need to stay much longer on the plant before their seed is ready.
Harvest on a dry day if you can. Seed gathered during or just after rain is much harder to dry properly and more likely to rot or turn mouldy.
Drying is the most important step
Excess moisture drives deterioration and mould, especially in warm storage, so start drying promptly after harvest rather than leaving damp seed in heaps or closed bags.
Spread it out: whether it is grain, beans or vegetable seed, dry it in a thin layer on a clean mat, tarp or drying floor. Piled seed traps heat and moisture, which speeds up spoilage.
Avoid overheating: dry vegetable seed in the shade with good airflow. Cereals can be sun-dried with care, but hot surfaces and strong midday sun can damage seed meant for planting, so stir often and move it into shade if it gets hot. For rice seed, IRRI advises keeping mechanical drying air below 43°C, and other crops have their own limits.
Stir it regularly: turn the seed a few times a day so it dries evenly and no damp pockets form underneath.
Measure moisture where you can: use a moisture meter calibrated for the crop, or ask a seed laboratory or the local extension service. Biting, snapping or pressing seed with a fingernail gives only a rough idea and cannot confirm a safe storage level, and treated seed should never be bitten. For farmer-saved rice seed, IRRI recommends 12% moisture or less.
Drying time depends on starting moisture, weather, airflow and seed type, so judge readiness by moisture rather than by a fixed number of days or by how dry the surface feels. Protect drying seed from rain and overnight dew, and let it cool before sealing it.
Safe storage moisture differs between crops. The figures below are published recommendations, and each depends on storage temperature, how long the seed will be kept and how it is packed.
| Crop | Storage moisture | Note | Source |
| Wheat and barley | 8 to 10% | Regional recommendation for seed storage | NC State Extension |
| Maize | 12% maximum | For open storage; seed in moisture-proof packaging needs a lower figure | TNAU |
| Soybean | 12% or less for one season, 10% or less to carry over | Handle gently and avoid over-drying, which cracks the seed | Iowa State |
| Rice | 12% or less | Keep moisture from getting back in after drying | IRRI |
Two rules of thumb from NC State show why drying matters so much. Each 1% drop in seed moisture roughly doubles the safe storage period, and so does each 5 to 6°C drop in storage temperature. And seed going into sealed containers should be 2 to 4% drier than seed kept in ordinary storage, because moisture sealed inside has nowhere to go.
Clean before storing
Remove large debris before drying, then clean the dried seed before it goes into store. Take out broken, shrivelled, discoloured or visibly damaged seed, weed seed, chaff and stones. Winnowing and sieves help, but neither guarantees freedom from disease or from other varieties. Clean threshers, tools and containers between lots so they do not mix.
Store seed the right way
Once the seed is fully dry and clean, storage decides whether it survives until the next planting season.
Keep it cool and dry: heat and humidity are seed's biggest enemies. A cool, dry, shaded store away from direct sun and damp walls or floors will keep seed far longer than a hot storeroom.
Seal only dry, cooled seed: clean containers with tight lids keep moisture out, and purpose-made hermetic bags are another option where available. Never seal damp seed. For small lots of vegetable seed, a sachet of silica gel can absorb residual moisture, but it does not replace proper drying.
Prevent pests with hygiene: clean the store, remove old grain residues, protect against rodents and check containers for damage. Traditional additives such as neem leaves, ash or chilli are widely used, but there is little crop-specific evidence that they can replace dry, clean, sealed storage. If you find insects, ask the local extension service for a control method suitable for seed you intend to plant.
Label every lot: record the crop, variety, harvest date, field or source and any treatment, along with moisture and germination results when you have them. Keep lots separate, and use older seed first only if testing shows it is still good.
Check the store and the outside of containers regularly for leaks, condensation, rodents or damage. Avoid opening hermetic containers routinely, because each opening lets humid air in, so keep a small, separately packed sample for quality checks. If you suspect heating, mould or infestation, investigate promptly and reconsider whether the seed is fit to plant.
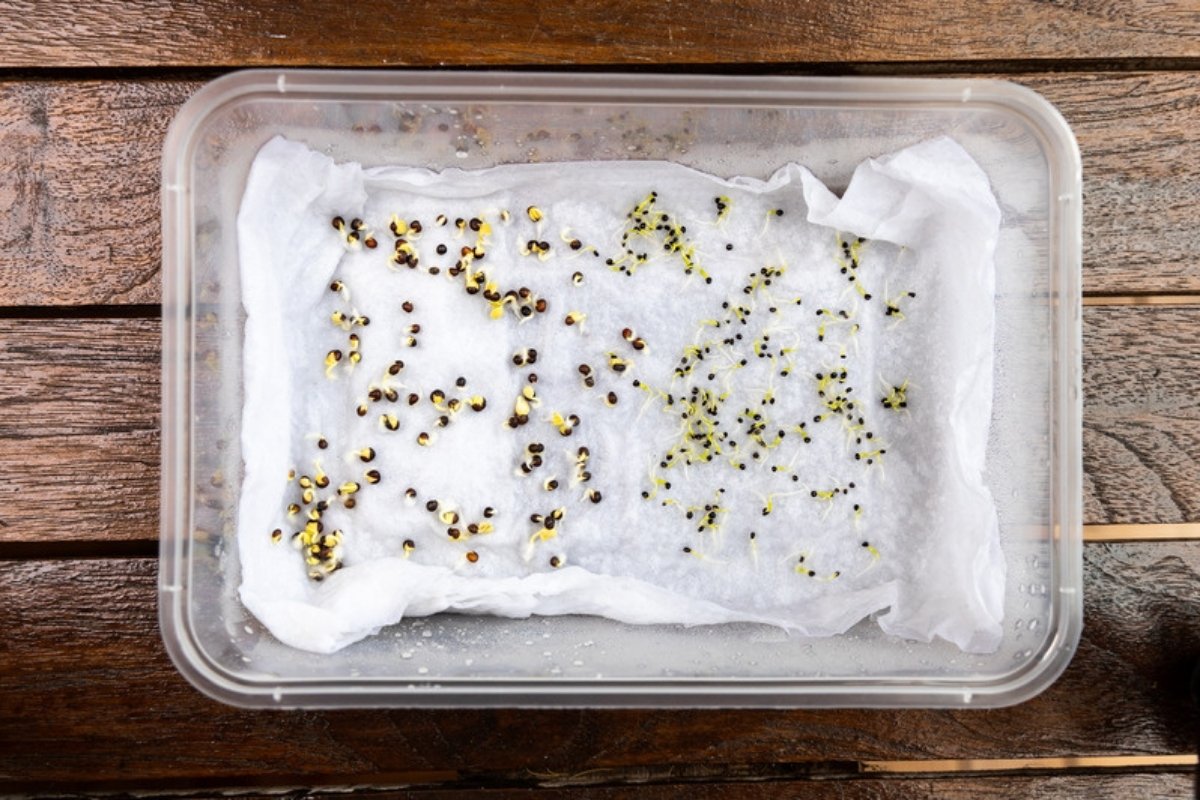
A simple germination test on moist paper shows whether a saved seed lot is still worth sowing.
Test germination before planting
Take small samples from different parts of the lot and mix them. Count out 100 seeds, place them on moist paper or another clean medium, and keep them moist but not waterlogged at the temperature and for the time suited to the crop. Count only normal seedlings, not every seed that shows a root. If 85 of the 100 grow into normal seedlings, germination is about 85%. Repeating the test with a second sample gives a more reliable figure.
A home test is a screening tool, not a quality certificate. It does not measure varietal purity, detect every seed-borne disease or guarantee emergence in the field. If germination is low or the seedlings look abnormal, have the seed tested by a laboratory or replace the lot, rather than simply sowing more seed.
Making saved seed worth planting
Saved seed is only as good as the care at each stage. Choose a suitable variety, harvest mature seed, keep lots apart, dry without overheating, protect the seed from moisture and pests, and check germination before planting to know whether the lot can establish the next crop. If it cannot, buy seed instead, and know what to check before you buy.
Sources
Edwards, J. (2017). Farmer-saved wheat seed in Oklahoma, questions and answers. Oklahoma State University Extension.
FAO (2010). Seeds in emergencies, a technical handbook. Food and Agriculture Organization of the United Nations, Rome.
International Rice Research Institute. Drying. Rice Knowledge Bank.
International Rice Research Institute. Fundamentals of grain drying. Rice Knowledge Bank.
International Rice Research Institute. Using good, clean and healthy seed. Rice Knowledge Bank.
Iowa State University Extension. Storing soybean.
MacKenzie, J., and Grabowski, M. (2024). Saving vegetable seeds. University of Minnesota Extension.
NC State Extension. Seed and seed quality.
Tamil Nadu Agricultural University. Seed testing. TNAU Agritech Portal.