How to Grow Artichokes at Home

This post is also available in:
This post is also available in:
![]() Español (Spanish)
Español (Spanish) ![]() Français (French)
Français (French) ![]() Deutsch (German)
Deutsch (German) ![]() العربية (Arabic)
العربية (Arabic) ![]() Türkçe (Turkish)
Türkçe (Turkish) ![]() Ελληνικά (Greek)
Ελληνικά (Greek) ![]() Português (Portuguese (Brazil))
Português (Portuguese (Brazil))
Artichokes are an excellent option for backyard cultivation as they are generally relatively easy to grow, can last for years, and serve as a great source of nutrients for you and your family. Below you can find all the information needed for an amateur grower to start artichoke cultivation.
Artichokes thrive in mild climates with cool winters, lack of frosts, and generally no abrupt changes in temperature. The plant prefers temperatures between 12-22 ℃ (53-72 °F), while as the lowest tolerable levels, we consider temperatures of -3 to -5 ℃ (23-26.6 °F). However, you shall better avoid planting an artichoke in areas where the temperature falls below 1 ℃ (33.8 °F), as frosts can harm the plant. Artichokes prefer loam or loamy clay soil provided the aeration is suitable. In addition, they love high environmental humidity levels. We consider the pH of 6-7 as optimum, but the plants can grow well in soil with a pH of 8.
The best period to transplant an artichoke plant is after the last spring frost. Before you plant an artichoke, you should start by preparing the soil. Most home growers plow the ground in their backyard using hand plows or hoes. They continue by applying well-rotted manure (40-50 kg per 10 ㎡, or 8.2-10.3 lb/10 square feet) and mixing it with the soil. Afterward, they dig the planting holes and place the artichokes at 1m (3 ft.) distances between them on the row and 1.5 m (4.9 ft) between rows.
There are three ways to plant an artichoke. If you previously had an artichoke in your backyard, or you can find a mature artichoke nearby, you could consider planting offshoots or root crowns. If not, you can find seeds or plants ready for transplanting in the market. After planting, you can irrigate well. Most backyard growers irrigate their artichokes 1-3 times per week, depending on the soil type and the environmental conditions. As a fertilization method, we suggest the incorporation of well-rotted manure 1-2 times per year (autumn and spring).
During a growing season, you may need to intervene and tillage 1-2 times to improve the soil aeration. Furthermore, this will help control some weeds, while the rest can be removed by hand. It is essential to perform weeding during the entire growing period to reduce the competition between artichokes and weeds.
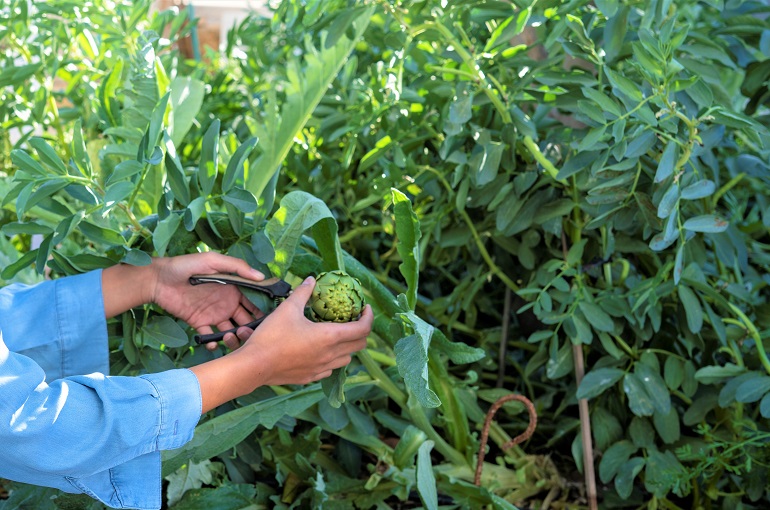
Artichokes are usually ready for harvesting in summer. The right time to harvest them is when they have an ideal head size with compact, close but soft bracts. After harvesting, farmers remove most of the plant’s offshoots, keeping only 3-4 vigorous ones per plant. If you grow your artichokes in areas with high frost risk, you may have to protect your plants during this period. Thus, after removing most of the plant’s offshoots, some gardeners bury them under 10-15 cm (4-5.5 in) of soil and straw.
If you grow artichokes in your garden, you can apply per plant two teaspoons of nitrogen fertilizer (21-0-0) every four weeks, starting one month after transplanting.
How to Grow Artichokes at Home
How to Grow Artichokes for Profit – Professional Artichoke Farming
Climate and Soil Requirements for Artichoke Farming
Soil Preparation and Planting in Artichoke Farming
Artichoke Water Requirements and Irrigation Systems
Artichoke Fertilization Requirements
Artichoke Farming: Harvest, Yield, Storage, and Post-harvest handling