Benefits of integrating wildlife into your farm and ways to monitor it
Remote cameras are a great method for landowners (e.g., farmers) to discover the presence of animals on their property. Since wildlife can impact your farm positively or negatively, understanding their activities allows for better integration into land management practices.
With the increasing affordability of so-called ‘trail’ cameras, it is nowadays relatively easy to find out more about the animals present in your surroundings when you are not watching! In this article, I will give you a quick guide on how to set up your wildlife monitoring project and what things to keep in mind when doing so. But first, we’ll discuss the integration of wildlife on your property.
How and which wild animals can be beneficial for a farm – The benefits of boosting the agrobiodiversity
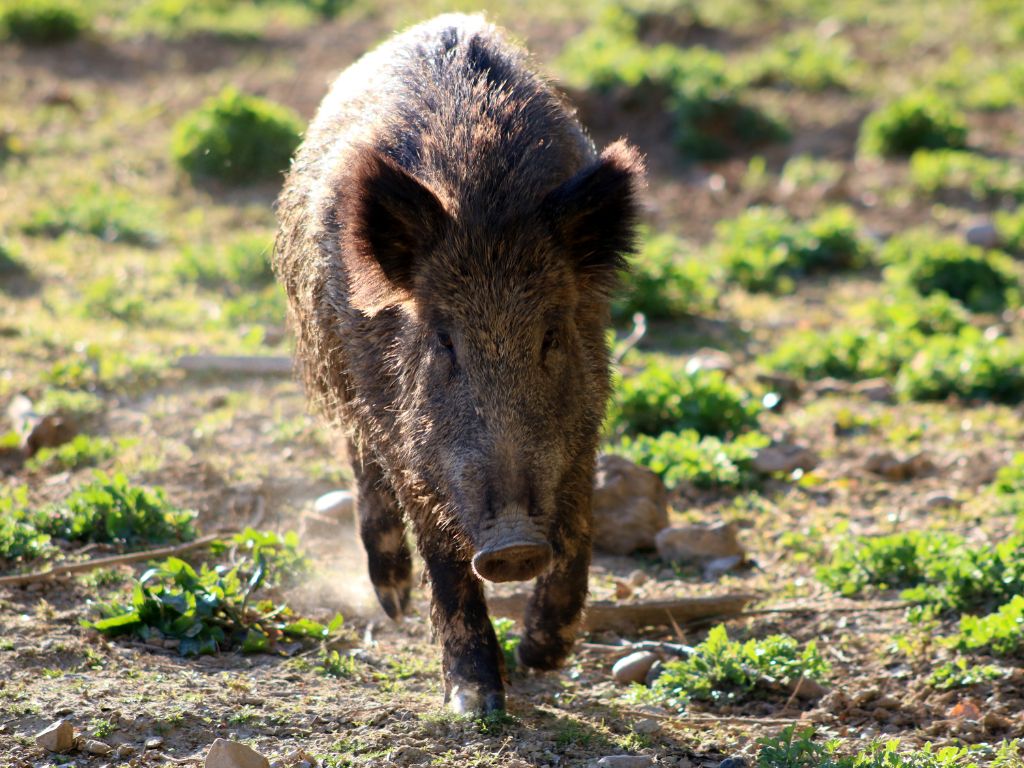
Having wildlife on your farm can be challenging. Some animals might find your crops tasty, or the return of big predators such as the wolf creates a threat to grazing livestock. Tracking wildlife can, therefore, help you distinguish what animals you are dealing with and where so you can take effective control measures.
Finding a location
After buying your wildlife camera, the initial step is to consider your motivations and goals for wildlife monitoring. What is it that you would like to see and know? This will help you find suitable locations:
- If you do not yet have suspicions about certain wildlife being present, or you are not focussed on a particular species in general, you can begin by placing the camera at places that generally attract animals. Fundamental factors like water sources, food availability, shelter, and safe passages are essential for all wildlife. Identifying an area on your land that offers one or more of these critical factors makes a good starting point. For instance, water sources such as ponds or rivers often attract a diverse range of species. This gives you a general overview and the possibility to later track certain species that you are interested in in more detail.
- In case you are already familiar with the species present on your land and you want to know the whereabouts of a particular species, consider tracing their presence by following traces. Locations where you find traces such as footprints, feces, holes, trampled/eaten vegetation, scratched tree trunks, and small pathways are optimal places to start placing your camera.
Tip: you can consider attracting animals with food. Herbivores can be attracted by leaving a block of salt that helps with their digestion. If you don’t want smaller animals to eat the food, you can put a stone on it. Keep in mind that by feeding the animal, you disturb the natural system in a way. It is advised not to do it too often and make animals dependent on the food source. Additionally, always check your local regulations around wild animal feeding first.

Placing the camera
Once you have chosen your location, the placement of your camera is another step that requires some thought to realize the goal of capturing wildlife properly. Some key considerations coming from my experience are the following:
- Detection Zone and Delay Time
The Detection zone of the camera is the space within the boundaries of the camera’s ability to detect motion. Because all cameras have a small delay in recording after detection, it is important to make the detection zone as big as possible. This way, you increase the chances of catching an animal, especially when you place it in areas where animals pass by quickly. Consider placing the camera in a higher location, on a tree, for instance, to expand the detection zone and compensate for the recording delay. This is especially important for recording at night because many cameras need a bit of extra time to power up their flash!
Tip: try to walk in front of the camera when it is in place to check the detection zone and delay time. To achieve a suitable angle, you can also try placing your phone in front of the camera lens in selfie mode to get an estimation of the view the lens has.
- Vegetation
The presence and movement of vegetation is another factor that can interfere with the camera’s ability to record animal movement. Not only can it block the view and decline the detection zone, it can also cause redundant footage of moving leaves. In order to avoid spending time scrolling through many plant recordings before you see an animal, you can remove leaves close to the lens or choose a place that is limited in encountering plant movement.
Tip: some cameras have the ability to change sensitivity settings. You can play around with this to find a balance between detecting the right movements.
- Lens Reflection
Be mindful of the effect the camera itself can have on animals. Some animals are able to see reflections in the camera lens from, for example, light sources such as the moon. Others are able to detect heat that reflects from the infrared, mistaking it for a predator’s eyes! By avoiding placement at direct eye level, such as in trees, you can also avoid frightening them. - Size of the Animal:
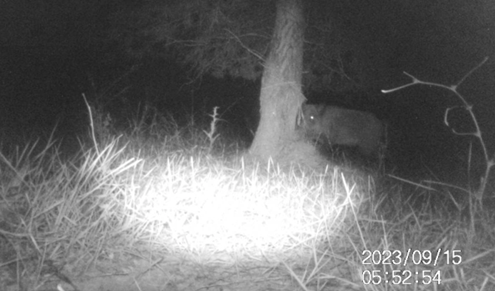
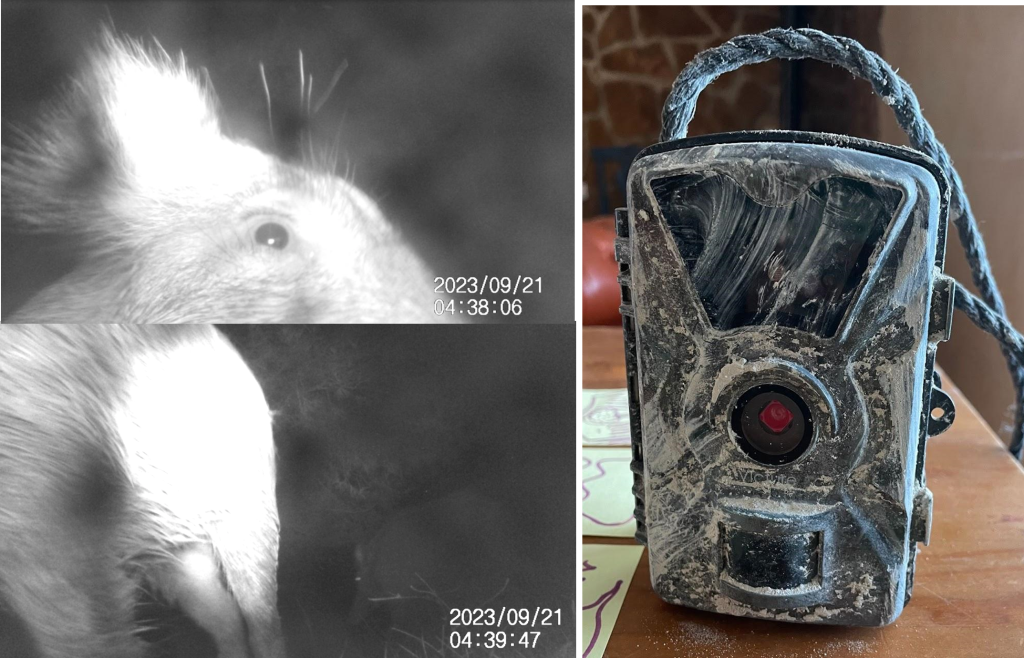
In case you know which animal you are trying to catch on camera, adjust the camera location and if your camera allows, the sensitivity settings, based on the size of the target animal. Smaller animals may require closer placement and higher sensitivity. As for larger animals, my experience has taught me that instead of scaring the animal, it can also cause curiosity. Although the footage can be very entertaining, animals such as wild bores can damage your camera by playing with it (figures below).
- Climatic Influences:
Some climatic factors can have effects on your camera and the quality of the footage. To avoid the negative effects of windy weather, place your camera in a secure position. Attach it to something strong, such as a rock or a big tree, rather than branches. When there are chances of rain and snow, you can place your camera under a canopy or try to make a small roof with at-home materials to avoid undistorted footage.
Tip: when you place your camera, don’t forget to pin the location on your phone. This will help you find it back and later add content to your monitoring data dossier.
Tip: Consider the duration for which you intend to leave the camera in a specific location. While many cameras are equipped with high storage capacity, it’s important to bear in mind the limitations of storage space and battery life.
Data collection
If you like to organize your wildlife monitoring data, you can consider making a dossier. An Excel sheet with dates, locations, identified animal species, and camera placement details provides a comprehensive overview (figure). In addition, put your actual recordings in separate maps on a (hard) drive. By rotating the camera locations, you can get an estimate of the size of the animal populations. Over time, you might be able to identify animal routes and certain patterns that contribute to your land management!